Are you struggling to find a standard LCD that fits your new product’s design? You might feel stuck with a generic display that fails to make your product stand out. We can build a custom screen that matches your exact needs.
The process for customizing an LCD display involves defining specifications, engineering design and drawing approval, tooling and sample creation, and finally, mass production. It is a partnership between you and the factory to create the perfect display.
I remember a client, Sanjay from India, who needed a very specific size for his new industrial meter. He was worried the process would be too complicated and expensive. I walked him through our clear, simple steps, and he was relieved.
What is the step-by-step process for customizing an LCD display?
So, you have an idea for a unique product. Let’s break down the exact journey from that idea to a box of custom displays at your door. It is a very clear path.
The customization process has five main stages: Requirement Gathering, Engineering Design, Tooling & Sample Production, Sample Approval, and Mass Production. Each stage must be completed and approved before we move to the next one.
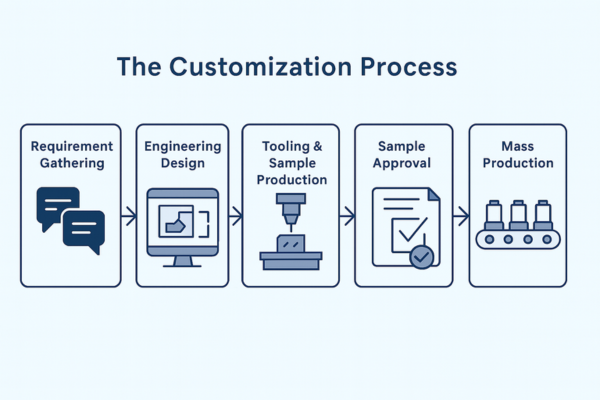
Step 1: Requirement Gathering
This is the first and most important step. You tell us exactly what you need. Our sales and engineering teams work with you to create a complete brief. We need to understand every detail of your project.
Things we need to know:
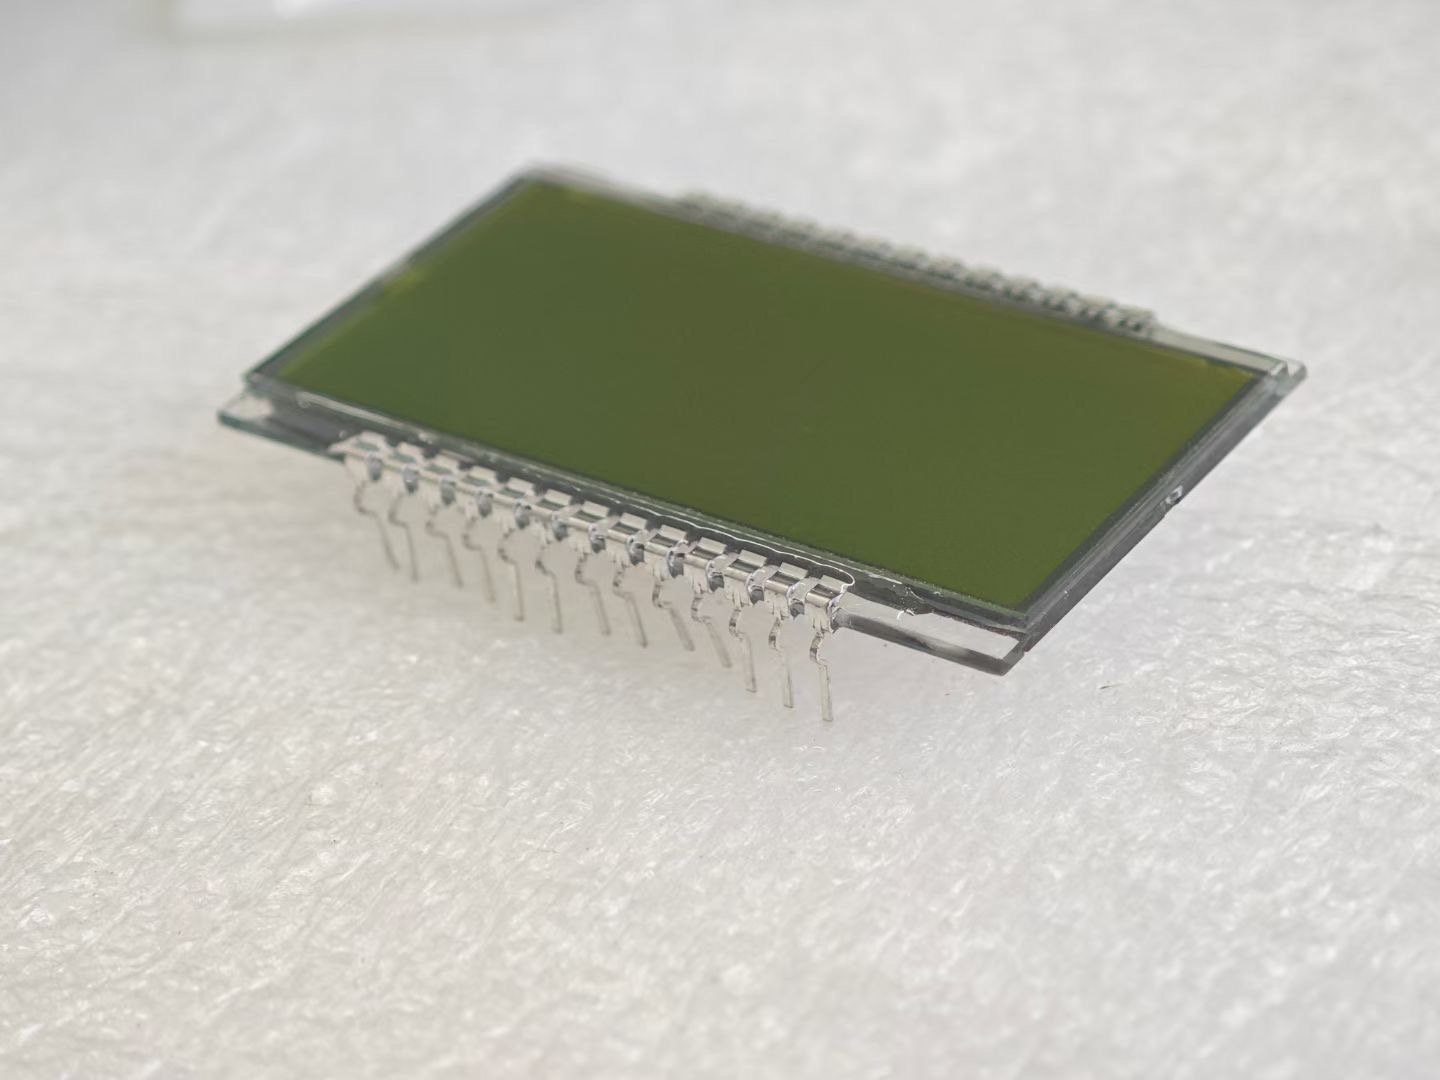
- Display Type: TFT, OLED, or a segment LCD?
- Dimensions: What is the exact outer size and active area size?
- Resolution: How many pixels do you need (e.g., 320×240)?
- Interface: How will it connect to your main board (SPI, I2C, RGB, etc.)?
- Brightness: How bright does it need to be (measured in nits)?
- Operating Temperature: What is the temperature range where it will work?
- Special Features: Do you need a touch panel? Or a custom logo printed on the glass?
Step 2: Engineering Design & Drawing
Once we have your requirements, our engineers get to work. They create a detailed technical drawing. This drawing is the blueprint for your custom display. It shows all the dimensions, pin connections, and components.
We send this drawing to you for approval. You and your engineering team must check every detail. If you need any changes, we revise the drawing until it is perfect. Your approval is critical before we proceed.
Step 3: Tooling and Sample Production
After you approve the drawing, we begin tooling. This means we create the custom molds and equipment needed to manufacture your specific LCD. Tooling has a one-time cost, which we call the Non-Recurring Engineering (NRE) fee.
Then, we produce the first batch of samples, usually around 5-10 pieces. This stage takes a few weeks, depending on the complexity.
Step 4: Sample Testing and Approval
We ship the samples to you. This is your chance to test the display in your actual product. You can check the size, the image quality, and how it connects to your device.
If the samples work perfectly, you give us your final approval. If there are any small issues, we will work with you to fix them and produce new samples if needed.
Step 5: Mass Production
With your approval, we are ready for mass production. We use the approved sample as our “signed sample.” Every display we produce will match this standard. Our quality control team checks the displays at every stage of production to ensure consistency.
Here is a simple table showing the typical timeline:
| Stage | What Happens | Typical Timeline |
|---|---|---|
| 1. Requirements | We discuss and define all specs. | 1-3 days |
| 2. Drawing | We create and you approve the drawing. | 3-5 days |
| 3. Tooling & Samples | We create molds and produce samples. | 3-4 weeks |
| 4. Sample Approval | You test and approve the samples. | 1-2 weeks |
| 5. Mass Production | We manufacture your full order. | 4-6 weeks |
Can you make custom LCD displays?
Many buyers ask me this first. They have a great idea, but they are not sure if it is possible to create a screen that fits it perfectly. I always tell them yes.
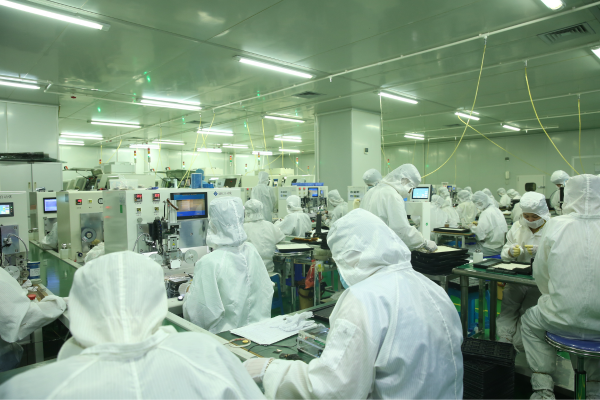
Yes, we specialize in making custom LCD displays. As a factory with 27 production lines, we can customize nearly every aspect of the display, including the size, shape, connectors, interface, and even add your logo on the glass.
What parts of the LCD can be customized?
You have a lot of control when you work directly with a factory like ours. We are not just selling a standard product from a catalog. We are building a component for your product.
Here are the most common things we customize:
- LCD Glass: We can create custom sizes and shapes. We can even do circular displays or displays with cut-outs.
- Backlight: We can adjust the brightness, color, and uniformity of the backlight to meet your power consumption and visibility needs.
- Flexible Printed Circuit (FPC): The FPC is the ribbon cable that connects the display. We can customize its length, shape, and pinout to make assembly easier for you.
- Touch Panel: We can add a resistive or capacitive touch panel. We can customize the cover glass thickness and add your logo or custom icons.
- Interface: We can build the display to use the interface your microcontroller needs, like SPI, I2C, 8-bit/16-bit Parallel, or RGB.
Why work directly with a factory?
Working with a factory like Santop gives you direct access to the engineers who are designing your product. There is no middleman. This makes communication faster and clearer. It also means you get better prices and have more control over quality. We are like your own personal LCD supermarket, but everything can be made to order.
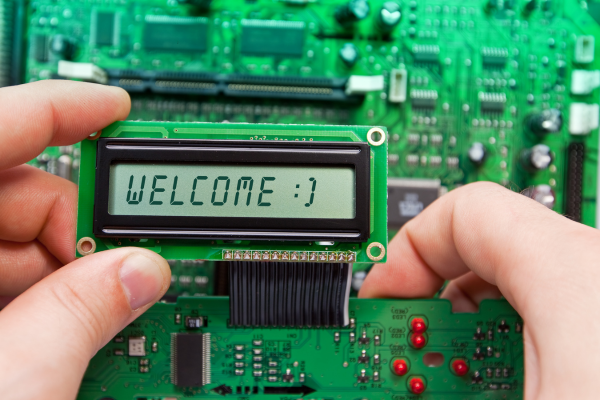
How are LCD displays programmed?
Getting the physical display is the first part. The next part is making it show your information. This is done through programming. It’s how you “talk” to the display.
LCDs are programmed by a microcontroller that sends specific commands and data to the display’s onboard driver IC. These commands initialize the screen, set the cursor, and write the information you want to display, like text or graphics.
The Driver IC and Datasheet
Every LCD module has a “driver IC.” This is a small chip on the display that acts as its brain. It receives commands and knows how to turn pixels on and off to create images or text.
When you buy a display from us, we provide a complete datasheet. This document is your instruction manual. It lists all the commands the driver IC understands. For example, it will have commands for:
- Initializing the display
- Clearing the screen
- Setting the cursor to a specific position (e.g., row 2, column 5)
- Writing a character to the screen
- Controlling the backlight
Using Code Libraries
You do not always have to write code from scratch. For popular microcontrollers like Arduino or Raspberry Pi, there are many pre-written code libraries. These libraries make programming much easier. You can use simple functions like lcd.clear() or lcd.print("Hello, World!") instead of sending low-level commands. This saves a lot of development time.
What is the process of interfacing an LCD display with a microcontroller?
Interfacing is about the physical connection. It’s how you connect the wires from your microcontroller (your product’s brain) to the LCD display. A correct connection is essential.
The process is to connect the display’s pins to the microcontroller’s pins. You must connect power (VCC), ground (GND), and the data/command lines based on the interface type (e.g., I2C, SPI) defined in the datasheet.
Common Interface Types
The interface you choose depends on your needs for speed and the number of pins you have available on your microcontroller.
1. I2C (Inter-Integrated Circuit)
- Pins: Uses only two data lines (SDA and SCL).
- Pros: Saves a lot of pins on your microcontroller. Good for simple displays and short distances.
- Cons: Slower than other interfaces.
2. SPI (Serial Peripheral Interface)
- Pins: Uses four lines (SCLK, MOSI, MISO, CS).
- Pros: Much faster than I2C. Good for displays that need to update quickly.
- Cons: Uses more pins than I2C.
3. Parallel Interface
- Pins: Uses 8 or 16 data lines, plus several control lines.
- Pros: Very fast. The best choice for high-resolution, fast-refreshing displays.
- Cons: Uses a lot of microcontroller pins, which can make your main board design more complex.
Here is a simple comparison:
| Interface | Speed | Number of Pins | Best For |
|---|---|---|---|
| I2C | Slow | 2 | Simple character LCDs, saving pins |
| SPI | Medium-Fast | 4 | Small to medium TFTs, quick updates |
| Parallel | Very Fast | 11+ | Large, high-resolution TFTs |
The datasheet for your custom LCD will show the exact pinout. It will tell you which pin is VCC, which is GND, and what each of the interface pins does. A careful connection is the final step to bringing your custom display to life.
Conclusion
Customizing an LCD is a clear process. With a good factory partner, you can get the perfect display that makes your product unique and successful.