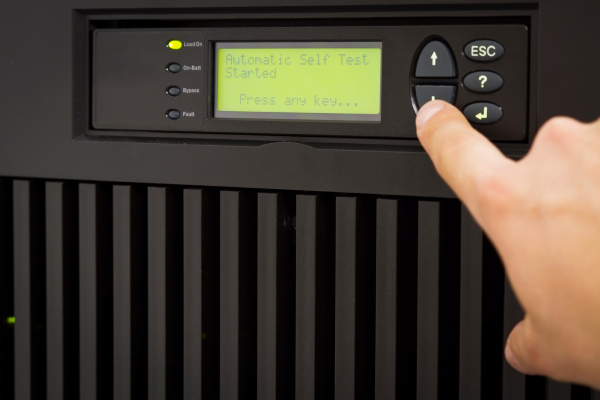
Are you trying to find a simple, cost-effective display for your product? It can be frustrating when complex technology gets in the way of a simple need. A Character LCD is the perfect, straightforward solution.
A Character LCD is a type of electronic display module. It is designed specifically to show alphanumeric text, numbers, and a predefined set of symbols. It cannot show custom graphics or images.
I remember a client from India, Deepak. He needed a reliable, easy-to-read display for his new line of industrial meters. He was tired of complex setups. We decided a character display was the perfect fit. Let me explain why.
What Are the Core Components of a Character LCD?
So, you know it shows text. But what is it made of? Let’s look at the parts that make this simple display so effective and easy to use in many projects.
A typical Character LCD module includes the LCD glass itself, a controller chip like the Hitachi HD44780, a printed circuit board (PCB), and often a backlight. These parts work together to show characters.
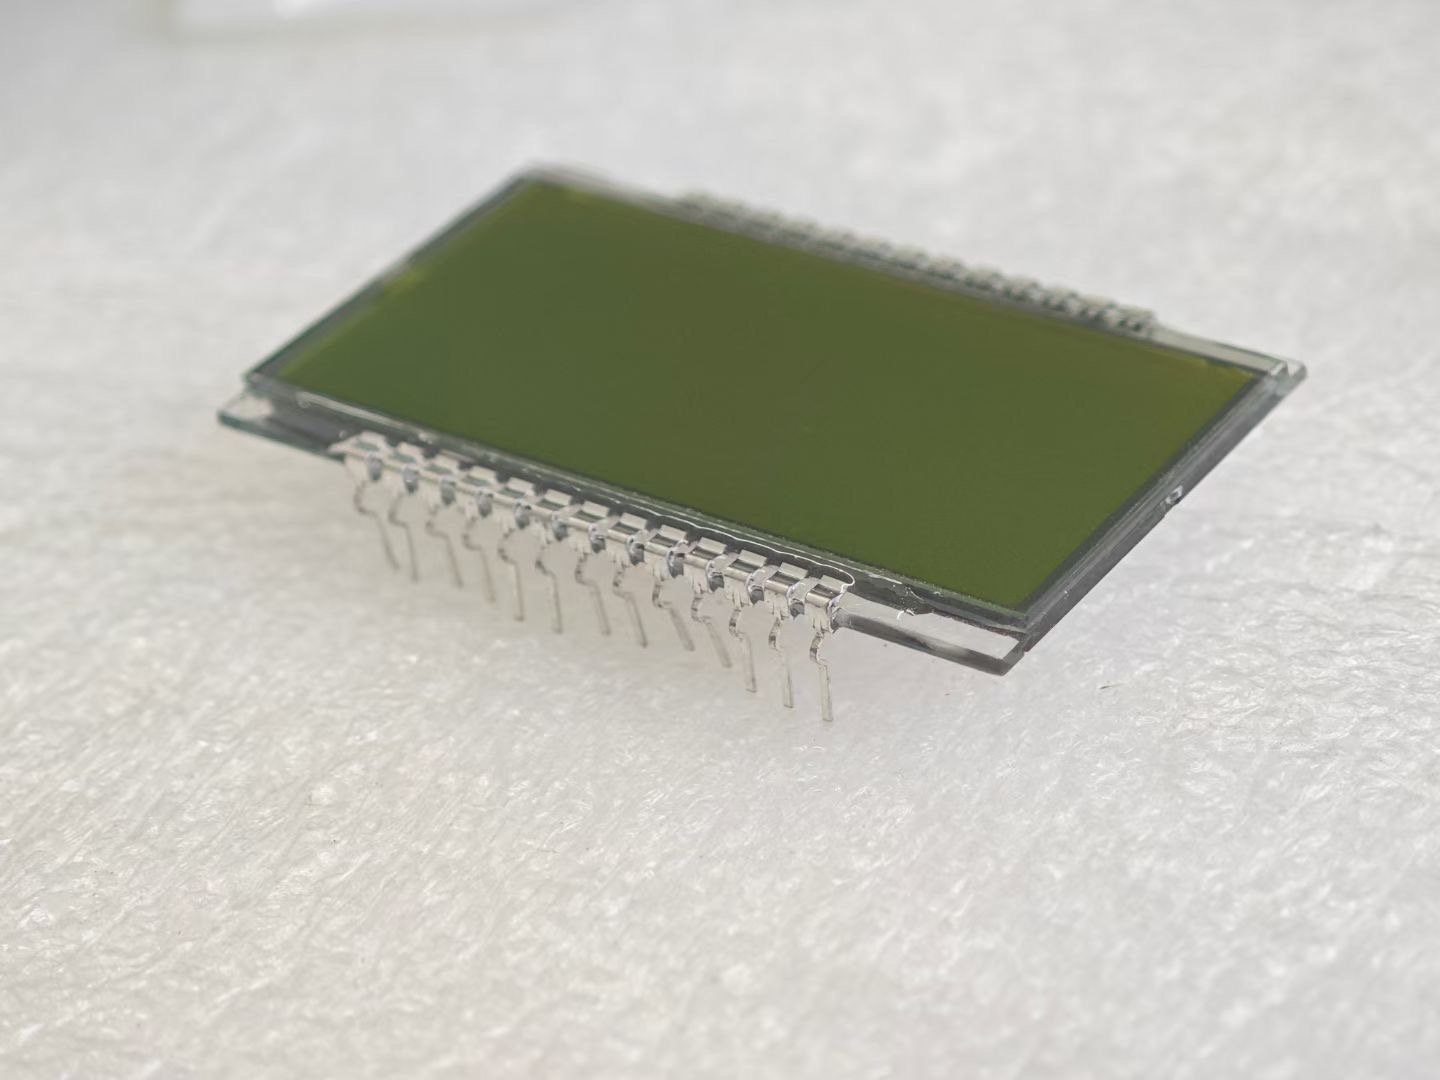
The LCD Glass
The top layer is the glass panel. This isn’t just a simple piece of glass. It contains the liquid crystals and a grid of transparent electrodes. These electrodes form fixed blocks, or character cells. Each character is usually made from a 5×8 or 5×10 dot matrix. When the display is off, you can’t see these dots. But they are there, ready to form any character in the display’s set.
The Controller IC (The Brain)
The most important part of the module is the controller Integrated Circuit (IC). The most famous one is the Hitachi HD44780. It’s the industry standard. This chip is the “brain” of the display. Its job is to be the translator. Your main processor, like an Arduino, sends a simple code for a letter (like the ASCII code for “A”). The HD44780 controller receives this code. It then knows exactly which dots in the matrix to turn on to display the letter “A”. This makes programming very simple for engineers. They don’t have to control each individual pixel.
The Printed Circuit Board (PCB)
All these components are mounted on a Printed Circuit Board, or PCB. The PCB is the foundation. It holds the LCD glass and controller chip. It also has all the connection points, usually a row of pins. These pins are for power (VCC), ground (GND), and data signals. As a factory, we can customize this PCB to fit a customer’s specific enclosure.
The Backlight
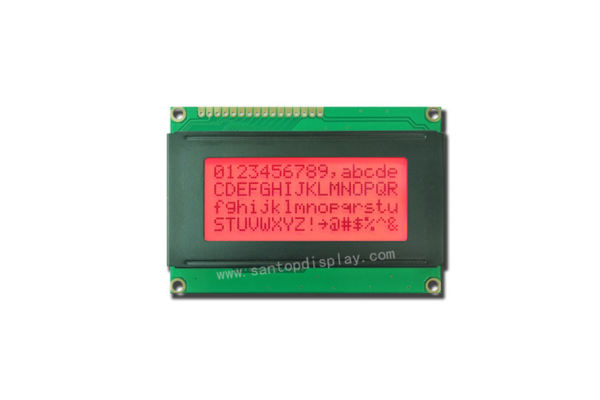
Many Character LCDs come with a backlight. This is an LED light panel that sits behind the LCD glass. It allows you to read the screen in low-light or dark conditions. These displays can be:
- Reflective: No backlight. Uses ambient light. Best for very low power use.
- Transmissive: Has a backlight. The characters light up. Best for indoor use.
- Transflective: A mix of both. It can use ambient light and a backlight.
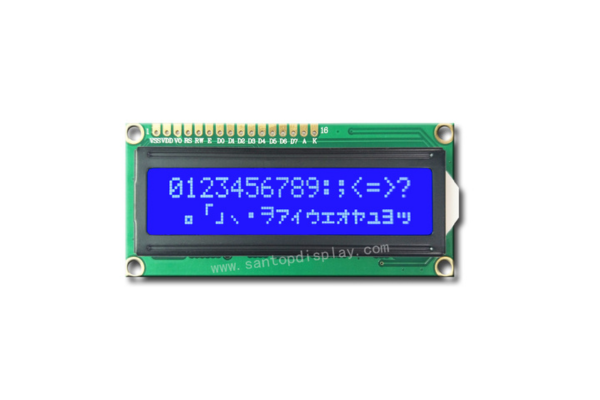
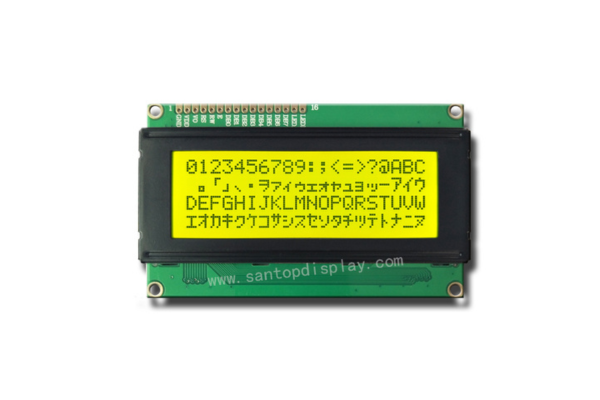
Backlights come in different colors, like the classic yellow-green, blue, or a clean white. This is another area where we offer customization.
Why Should You Choose a Character LCD Display?
Every design decision should bring a benefit. When you pick a display, you need to know what you are gaining. So, what makes a Character LCD a smart choice for so many products?
The biggest advantages of Character LCDs are their very low cost, low power consumption, and extreme ease of use. Their simple interface makes integration into any electronic project fast and easy.
Unbeatable Low Cost
Character LCDs are one of the most affordable display technologies available. There are a few reasons for this. The technology is mature, meaning the manufacturing process is highly optimized. The components, especially the controller, are produced in massive volumes. For a buyer like Lorenzo, who needs hundreds or thousands of displays, a lower unit price directly increases his profit margin. This is a huge factor in B2B wholesale.
Extremely Low Power Consumption
This is a critical advantage. A Character LCD without a backlight uses a tiny amount of power. This is because liquid crystals don’t produce light; they just block it. They only need a small voltage to change their state. This makes them perfect for battery-powered devices. Think of handheld testing equipment, portable medical devices, or any product that needs to run for weeks or months on a single battery.
Simple to Program and Use
As I mentioned, the standard controller makes these displays very easy to work with. There are thousands of free code libraries and tutorials online for almost any microcontroller, from Arduino to PIC to STM32. An engineer can get a Character LCD showing text in minutes, not days. This speeds up the product development cycle, which means our customers can get their products to market faster.
Here is a quick summary of the benefits:
| Feature | Benefit | Why it matters for buyers |
|---|---|---|
| Low Cost | Reduces the total cost of materials | Increases profit margin on the final product. |
| Low Power | Enables long battery life | Critical for portable or remote devices. |
| Ease of Use | Faster development and testing | Reduces engineering costs and time-to-market. |
| High Reliability | Mature, proven technology | Fewer product failures and better brand trust. |
Are There Any Downsides to Using a Character LCD?
No technology is the right choice for every single project. To make a good decision, you must understand the limitations. Let’s be direct about where a Character LCD is not the best fit.
The main disadvantages are its very limited display capabilities. It cannot show custom graphics, animations, or different fonts. The viewing angles can also be narrow compared to modern screen technologies like TFT or OLED.
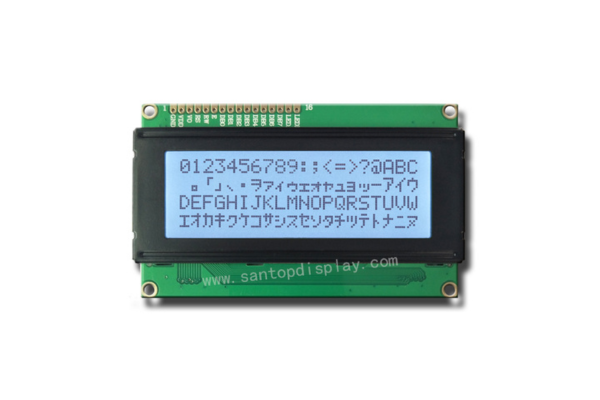
Limited to a Fixed Character Set
This is the biggest limitation. You can only display the letters, numbers, and symbols that are pre-programmed into the controller’s memory (the Character ROM). You cannot just create your own font or show your company’s logo as an image. While most controllers let you define a few (usually 8) custom characters, this is very basic. If your product needs a modern graphical user interface (GUI), a Character LCD is not the right choice.
Fixed Layout and Size
The layout of a Character LCD is rigid. For example, a 16×2 display has two rows, and each row has 16 character positions. You cannot place a character between two positions or change the size of the text. The information is always displayed in a structured grid. This can feel restrictive if you want a more dynamic or visually appealing user interface.
Viewing Angle Constraints
Standard Character LCDs (using TN or STN liquid crystal technology) have an optimal viewing angle. This is usually specified as a “viewing direction,” like 6 o’clock or 12 o’clock. If you look at the screen from a different angle, the contrast can drop, and the characters can become difficult or impossible to read. While newer technologies like FSTN or VA offer much better viewing angles, it is a key point to check during sourcing. Deepak was very careful about this for his meters.
How Does a Character LCD Display Actually Work?
We talked about the parts, but how do they all communicate to show text? Understanding the basic process helps you see just how simple and efficient these displays really are.
A main processor, called a microcontroller, sends commands and character codes to the LCD’s controller. The controller then applies specific voltages to the liquid crystals, which makes the correct character shapes appear on the screen.
The Step-by-Step Process
It’s a simple conversation between two chips: your microcontroller and the LCD’s controller.
- Initialization: First, your microcontroller sends a series of setup commands to the LCD controller. These commands tell the display things like “clear the screen,” “turn the display on,” and “set the cursor to the home position.”
- Selecting a Mode (Command vs. Data): There is a special pin on the LCD module called the “Register Select” (RS) pin. This pin tells the controller what kind of information is coming next.
- If the RS pin is set to LOW, the controller knows it’s receiving a command (e.g., move the cursor to the second line).
- If the RS pin is set to HIGH, the controller knows it’s receiving data (a character to be displayed).
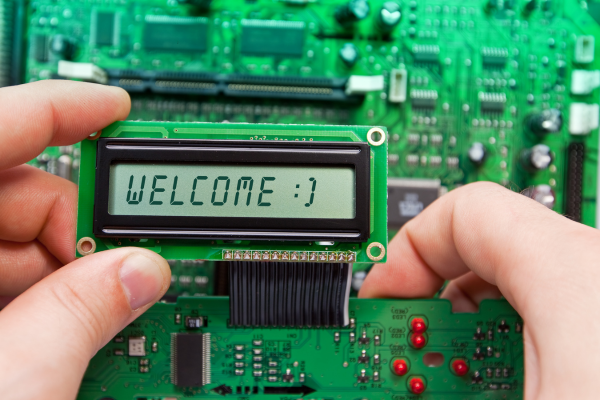
- Sending a Character: To write the word “HELLO”, the microcontroller first sets the RS pin HIGH. Then, it sends the ASCII code for ‘H’. The LCD controller receives this code and activates the correct dots in the first character cell to show an ‘H’. The cursor then automatically moves to the next position. The microcontroller repeats this for ‘E’, ‘L’, ‘L’, and ‘O’.
- The Liquid Crystal Magic: When the controller activates a dot, it applies a small voltage to the electrodes for that specific dot. This voltage changes the alignment of the liquid crystals in that spot. The change in alignment controls whether light from the backlight (or reflected ambient light) can pass through the polarizers. If light is blocked, the dot appears dark. This is how the characters are formed.
Character LCD vs. Graphic LCD: Which One Do You Need?
This is the most common question I get from new buyers. They are both LCDs, but they are made for very different jobs. Choosing the correct type is one of the most important decisions for a project.
The most important difference is pixel control. With a Character LCD, you control character blocks. With a Graphic LCD, you control every single pixel on the screen individually.
The Core Difference: Pixel vs. Character
Think of it like this. A Character LCD is like a sign with fixed slots for letters. You can choose which letter goes in each slot, but you can’t change the slot’s location or size. A Graphic LCD is like a blank whiteboard. You can draw anything, anywhere, in any size or shape. This pixel-level control allows for custom fonts, images, charts, and smooth animations.
Complexity and Cost
That extra flexibility comes at a price. A Graphic LCD needs a more powerful controller and more memory (called a framebuffer) to keep track of the state of every single pixel. This makes the display module itself more expensive. It also requires more processing power from your main microcontroller and more complex programming to draw everything on the screen.
When to Use Each Type
Choosing between them depends completely on your application’s needs.
- Choose a Character LCD if: Your product only needs to show simple information like temperature readings, status messages, menu items, or timings. Cost, power, and simplicity are your main concerns.
- Examples: Coffee machines, 3D printers, industrial controllers, utility meters.
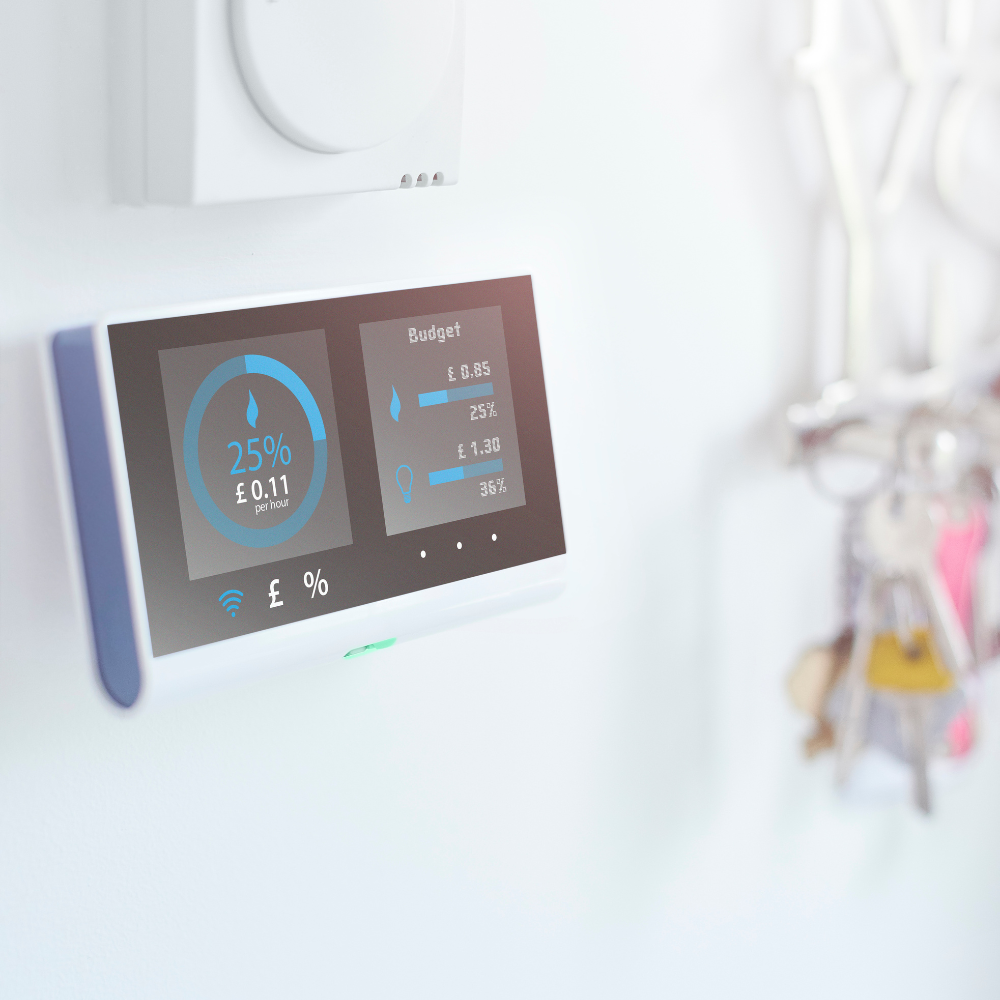
- Choose a Graphic LCD if: Your product needs a modern user interface, needs to display logos or images, or needs to show data in charts or graphs.
- Examples: Smart home thermostats, handheld medical devices, point-of-sale systems.
Here is a final comparison table to help you decide.
| Feature | Character LCD | Graphic LCD |
|---|---|---|
| Display Content | Predefined text and symbols | Any image, graphic, or custom font |
| Control | Character-based (Simple) | Pixel-based (Complex) |
| Cost | Lower | Higher |
| Power Use | Very Low | Low to Medium |
| Ease of Use | Very Easy | More Difficult |
| Flexibility | Low | High |
Conclusion
Character LCDs are a simple, low-cost, and super reliable choice. They are perfect for projects that need to display basic information clearly and efficiently, without the cost of graphics.